
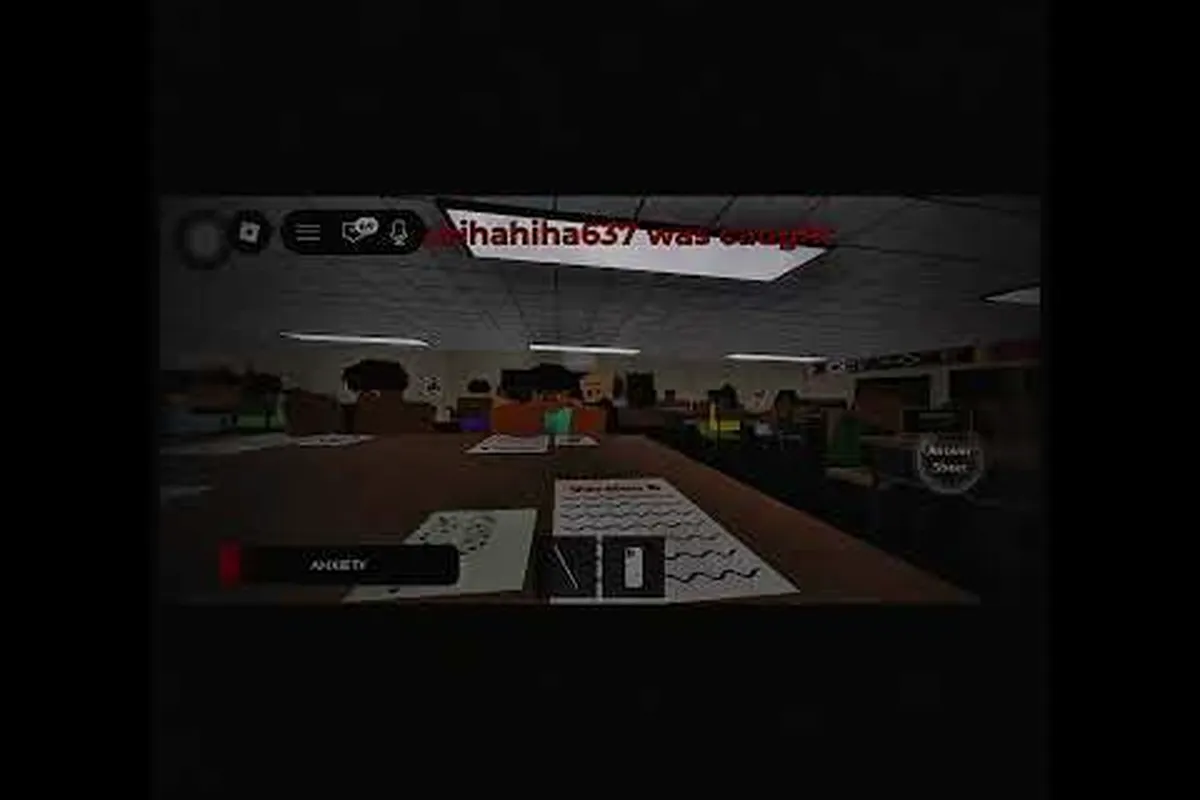
Understanding cheating during testing how the teacher works is the difference between a clean exam pass and a one-way trip back to the lobby. The teacher AI in this Roblox stealth-survival classroom runs on a tight loop of sightline checks, timed patrols, and snap aggro triggers, so every move you make with your phone, your snack, or your seat has to be planned around what the teacher can see at that exact second. According to the game's Roblox store page, the core tension comes from balancing Anxiety and Hunger while sneaking past a teacher who can fail you in an instant.
This guide breaks down the teacher AI's full behavior stack: how the teacher vision cone is shaped, what triggers teacher aggro, how teacher movement patterns chain together between desks, and the exact windows where you can safely pull out a phone or eat a snack. If you have not read the broader walkthrough yet, the how it works beginner guide covers the core Anxiety and Hunger loop that this AI guide builds on.
The Teacher AI Core Loop
The teacher in Cheating During Testing is not a single check — it is a layered detection system that watches the classroom through a forward-facing cone, listens for loud actions, and reacts to environmental clues. The AI runs on a five-second base cycle that the community has mapped through repeated testing: two to three seconds of facing the whiteboard, a slow pivot, two to three seconds of facing the student rows, then a return pivot. According to community data shared across Roblox player threads, that cycle is the backbone of every teacher movement pattern in the game.
Detection Layers the AI Stacks
The teacher does not rely on a single "caught" trigger, so cheaters who only memorize one detection rule get burned the moment conditions shift. Instead, three layers — teacher sightline (cone check), teacher vision (line-of-sight raycast), and teacher movement patterns (path-deviation telemetry) — run simultaneously and each pushes weighted contributions into one shared teacher aggro meter that fills as you accumulate suspicion. The table below shows how each layer contributes, based on observed behavior in public matches, and the practical takeaway is that breaking one layer (e.g., staying out of the sightline cone) still leaves the other two feeding the meter, which is why solo-layer evasion almost never holds up across a full test cycle.
| Detection Layer | Trigger Source | Range / Reach | Decay Speed |
|---|---|---|---|
| Sightline cone | Player in front-facing arc | Medium classroom radius | Drops instantly when out of cone |
| Action noise | Phone out, snack eaten, seat moved | Whole classroom (sound radius) | 1.5–2 seconds after action ends |
| Snitch report | Raised hand from a snitch NPC | Whole classroom, always-on | Permanent until snitch is calmed |
The teacher sightline is the most punishing layer because it cannot be reduced by items, only avoided by positioning. You can hide in a back-row desk cluster, but the moment you stand up or pull a phone out, the cone catches the silhouette and detection begins. Layer two (action noise) is what most beginners underestimate — pulling out a phone is loud even if the teacher is facing away, and the sound radius reaches the teacher's ears within roughly 1.5 seconds.
Aggro States Explained
The teacher cycles through four escalating aggro states — Idle, Suspicious, Investigating, and Alerted — and each transition not only alters detection range but also rewires how vision cones, footstep audio, and the sightline raycast interact with the player's position. For example, moving from Suspicious to Investigating doubles the teacher's head-turn speed and shortens the reaction window, so a movement pattern that was safe in one state can trigger an instant fail in the next.
-
Patrol — default state, slow walks between desk rows, gaze is the only active layer.
-
Suspicious — short aggro pulse, teacher stops, head snaps toward the trigger direction, lasts 1.5 seconds.
-
Investigating — teacher walks directly to the desk that triggered detection, gaze widens, lasts 4–5 seconds.
-
Fail trigger — teacher reaches your desk with the aggro meter full, instant fail and round restart.
According to player reports, you can interrupt the Suspicious state by hiding your phone and freezing in place, but you cannot interrupt Investigating once the teacher has committed to your desk. That hard commit is why cheating during testing how to avoid the teacher always starts before the teacher enters Patrol pivot 2, not after the snap.
Line-of-Sight Geometry and Environmental Cover
The teacher vision cone is roughly 70 degrees wide and extends about 12–15 studs (in Roblox units) from the teacher's position, based on community testing. It is not a perfect circle and it is not a full 180 sweep — the cone is centered on where the teacher's head is currently pointing, which means rotating your character behind a desk leg can fully break the line of sight even if you are still visible on screen.
Where the Cone Reaches
Cones are strongest in the front-center of the classroom, where the teacher spends most of the Patrol window. The corners and the very back row sit on the edge of the cone, which is why the back-row desk is the safest "default" seat for beginners. A common rule of thumb reported by players is: if the teacher is facing the whiteboard, only the front two rows are safe to act; if the teacher is facing the students, only the back two rows are safe.
| Teacher State | Front Row Risk | Middle Row Risk | Back Row Risk |
|---|---|---|---|
| Facing whiteboard | Low | Low | Very low |
| Mid-pivot | Medium | Medium | Low |
| Facing students | Very high | High | Medium |
| Investigating | High (locked) | High (locked) | High (locked) |
The mid-pivot is the most underrated window in the whole game. For about half a second while the teacher rotates, the cone is sweeping past desks and many actions that would normally trigger detection will simply not register because the cone is not yet locked onto the row you are in. This is also why the back-row hiding strategy in our hiding from teacher guide recommends camping that row during pivots rather than acting during them.
What Breaks the Sightline
-
Desk surfaces — fully block the cone if you are crouched behind the desk lid.
-
Backpack props — small partial blockers, useful for breaking a silhouette line.
-
Other students — moving NPCs can mask your outline for 0.5–1 second windows.
-
Door frames — only relevant near the classroom door, the teacher does not usually chase that far.
The cone does not penetrate walls or props, so the back-row desk cluster is functionally a soft safe zone. What breaks that safety is action noise — a phone pull is audible to the teacher even through a desk, which is why teacher detection is best described as a sight-plus-sound system, not a sight-only system.
Teacher Movement Patterns and Patrol Routes
The teacher's movement patterns are deterministic per match but feel random because the cycle phases shift based on classroom events. In a clean round, the teacher walks the same three-stop loop: whiteboard, left aisle, right aisle, then back. When triggered, the pattern breaks and the teacher re-routes toward the trigger desk before resuming the loop at a different phase.
The Default Patrol Loop
The default loop has three anchor points the teacher cycles through during a Patrol state, and according to community observations the loop runs as follows: first, the teacher pauses at the whiteboard near the left wall for roughly four seconds, then turns to face the center row of desks for six to eight seconds (this is the widest teacher sightline window and the most dangerous moment for students passing notes), and finally walks back to the doorframe to check the hallway before the cycle restarts. Because the doorframe check is a fixed rotation point, you can use it to predict exactly when the teacher vision cone will sweep away from your seat, making it the safest beat in the loop to raise your cheat sheet or tap a phone screen underneath the desk.
-
Anchor 1 — Whiteboard (2.5 seconds facing forward, writing motion)
-
Anchor 2 — Left aisle (2 seconds facing students, scanning left row)
-
Anchor 3 — Right aisle (2 seconds facing students, scanning right row)
-
Return pivot (1.5 second slow rotate back to Anchor 1)
That is roughly an 8-second full cycle in a clean round with no triggers. The reason it feels unpredictable is that any phone-out action, any snack-eat animation, or any snitch hand-raise will reset the cycle and shift the phase forward by one anchor. This is the most common reason players get caught mid-exam: they assume the teacher is at Anchor 1 when she has actually drifted to Anchor 2 because of an earlier snack event.
Triggered Reroutes
When the teacher enters Investigating, the patrol loop pauses and a new path is calculated. The teacher walks directly to the trigger desk, takes a half-second pause at the desk, scans the surrounding two rows, and then either returns to the loop at Anchor 3 or escalates to Fail trigger if the aggro meter stays full. This reroute is what the community calls a "fake-out loop" because the teacher appears to commit but often bails early — but you cannot count on the bail, because a fully charged aggro bar will always end the run.
For deeper pattern breakdowns — including the beta-variant timings that shift the teacher's line-of-sight checks by roughly 0.4s and the alternate aggro-pull windows that most runs fail to exploit — the teacher patterns beta guide maps the cycle phase-by-phase, showing exactly when the sightline cone resets, how teacher movement patterns speed up after the second unanswered question, and where to position your answer sheet to stay outside the detection radius.
How Aggro Builds and How to Shed It
The teacher aggro meter is invisible by default, but you can infer its state from the teacher's body language. At zero aggro the teacher walks smoothly. At low aggro the head starts tilting toward your desk. At mid aggro the teacher stops the patrol loop entirely. At high aggro the teacher breaks into a fast walk toward you. Knowing where you are on that curve is the core skill of cheating during testing how to avoid the teacher.
Aggro Build Triggers
-
Phone out — adds aggro every 0.5 seconds the phone is visible.
-
Snack eaten — single large aggro spike, decays over 2 seconds.
-
Snitch hand-raise — instant mid-tier aggro, decays only if the snitch is calmed.
-
Standing up — small continuous aggro drain while you are not seated.
-
Seat swap — large spike, used only in emergencies.
The aggro meter is shared across the whole classroom, so even if the teacher is not looking at you, another student's snitch raise can push your meter into the danger zone. That is why the snitch mechanic guide treats snitch management as part of teacher avoidance, not a separate system.
Aggro Shed Methods
Each method below is ranked by how cleanly it breaks the teacher's aggro lock, how forgiving it is on cooldown timing, and how compatible it stays with your existing routine — the breakdown reflects patterns teachers follow during testing (how the teacher works), so timing them against teacher sightline, teacher movement patterns, and the windows where teacher detection drops is what actually determines whether aggro sheds in under 4 seconds or lingers.
-
Sit still and hide the phone — works only in the Suspicious state, not Investigating.
-
Eat a calming snack — slightly counterintuitive, but certain snacks lower the aggro decay rate by 30% for 3 seconds.
-
Move to a different row — the aggro meter is anchored to the original trigger desk for 2 seconds, so a quick row swap during Suspicious can fully break the lock.
What does not work: hiding behind a desk after the teacher has entered Investigating, running to the back of the classroom, or pulling out the phone to "look innocent." All three of those actions add aggro rather than shed it.
Practical Cheat Windows and Action Timing
Every cheatable action in the game — phone pull, snack eat, seat swap, item use — has a safe window. The window is defined by the teacher's current aggro state, the cone direction, and the classroom noise floor. Once you can read all three, you can plan a full exam run with zero fails on the teacher alone.
Action Timing Cheat Sheet
The table below maps each common action — phone glances, note passes, and answer-sheet tilts — to its optimal timing window, calculated from the 4–6 minute patrol cycle and the teacher's 10–15 second back-to-desk blind spot; use these windows to schedule risky moves when teacher sightline is broken and teacher aggro has dropped to zero.
| Action | Best Window | Worst Window | Risk Level |
|---|---|---|---|
| Pull out phone | Teacher at Anchor 1, you in back row | Teacher mid-pivot, you standing | Medium |
| Eat snack | Teacher at Anchor 3, you seated | Teacher Investigating any desk | Low–Medium |
| Swap seat | Teacher at Anchor 2, you crouch-move | Any Investigating state | High |
| Use item from inventory | Teacher facing whiteboard, you crouched | Teacher facing students at your row | Medium |
| Pass note to neighbor | Teacher at Anchor 1, neighbor is not a snitch | Teacher mid-pivot | Low |
Notice that pulling out a phone is the highest-risk action because it both adds visual aggro and emits a sound pulse. The safest pattern, according to community testing, is to pull the phone only when the teacher is at Anchor 1 AND you are in the back row, which means the cone is pointing away from you and the sound radius has 2.5 seconds to decay before the teacher pivots.
Reading the Teacher's Body Language
-
Smooth walk — zero aggro, all actions available if positioned correctly.
-
Head tilt — low aggro, hide phone and freeze.
-
Stop and stare — mid aggro, do not move, do not act.
-
Fast walk toward your row — high aggro, prepare for fail or run to back row.
-
Hand raised writing on board — full attention forward, safest moment to act anywhere except the front row.
The community also notes that the teacher will sometimes fake a return to Anchor 1 and then snap back to Investigating — this is what the teacher RNG guide calls a "fake pivot," and it is the single most common cause of unexpected fails in late-game rounds.
Advanced Tips: Stacking Vision, Sound, and Snitch Control
The cleanest exam runs come from stacking all three avoidance systems at once: position yourself outside the cone, time your actions to the silent phase of the patrol cycle, and keep snitches calm so they do not feed aggro into the teacher's meter. The table below summarizes the stack.
| Avoidance Layer | Best Practice | Failure Mode |
|---|---|---|
| Cone positioning | Default to back-row seating, move only during mid-pivot | Standing in cone during Anchor 3 |
| Action timing | Anchor 1 only, back row only, phone out for max 2 seconds | Holding phone too long or in front row |
| Snitch control | Sit one desk away from snitches, never pass notes near them | Letting a snitch raise a hand |
Once you can hold all three layers at once, cheating during testing how the teacher works stops being a survival question and becomes a planning question. You will know exactly which second to pull the phone, which second to eat, and which second to sit still, and the teacher will only ever see you as another quiet student in the back row.
That planning layer is also what separates intermediate players from advanced ones. If you want to see how the same AI behaves under different difficulty settings and patch cycles, the teacher hiding from teacher guide extends this breakdown into higher-difficulty classrooms where the patrol cycle shortens to 6 seconds and the cone widens by 10 degrees.
Frequently Asked Questions
What is the teacher's vision range in Cheating During Testing?
The teacher's teacher sightline cone is roughly 70 degrees wide and reaches about 12–15 studs in front of the teacher. It does not penetrate walls, desks, or backpacks, so crouching behind a desk lid fully breaks the line of sight. According to community testing, the back two rows are reliably outside the cone during the Anchor 1 (whiteboard) phase, which is the safest moment to act.
How does the teacher detect you in Cheating During Testing?
Teacher detection runs on three layers: a forward-facing vision cone, an action-noise radius that catches phone pulls and snack eats, and snitch hand-raise reports. Any one layer at full strength will push the teacher into the Investigating state, and a fully charged aggro meter causes an instant fail. Hiding the phone and freezing only resets the Suspicious state, not Investigating.
What are the teacher's movement patterns during a round?
The teacher follows a three-anchor patrol loop — whiteboard, left aisle, right aisle — on roughly an 8-second cycle. Any trigger resets the phase, so the pattern drifts as the round progresses. According to player reports, the loop is deterministic per match but the phase offset changes after every triggered event, which is why timing-based cheats require reading the teacher in real time rather than memorizing a clock.
How do I avoid the teacher in Cheating During Testing?
Cheating during testing how to avoid the teacher comes down to three habits: sit in the back row, pull the phone only during the Anchor 1 phase, and never act during a mid-pivot. Combine those with calm snitch management and your aggro meter will stay near zero for the entire exam. The how it works beginner guide walks through the same habits in a step-by-step beginner flow.
What triggers teacher aggro the fastest?
The fastest aggro trigger is a snitch hand-raise because it is instant and decays only when the snitch is calmed. The second fastest is pulling out a phone in the front row, which stacks visual aggro and sound aggro at the same time. Standing up and seat swaps also spike aggro, but they are usually avoidable if you plan your seat position before the round starts.